
OWL Camera Use:
The OWL cameras are generally fairly easy to use and are “Plug and Play”. For first time use, please follow these steps:
1. Please ensure that the camera is powered and in working order. You can check this by simply pressing the volume or mute button on the OWL camera. If you hear anything from the camera or see a red light (when you press the mute button) it is powered.
2. Each OWL camera is plugged in and has been secured to the floor to avoid any tripping hazards. The USB connection for each OWL, is connected to a USB extension cable to reach the teacher’s podium/desk.
3. Ensure that you have the OWL USB plugged into your computer
4. In Teams, click on your picture in the top right corner of teams and navigate to the settings, and further onto the “Devices” section. Here you should see the OWL present in the Speakers and Microphone options.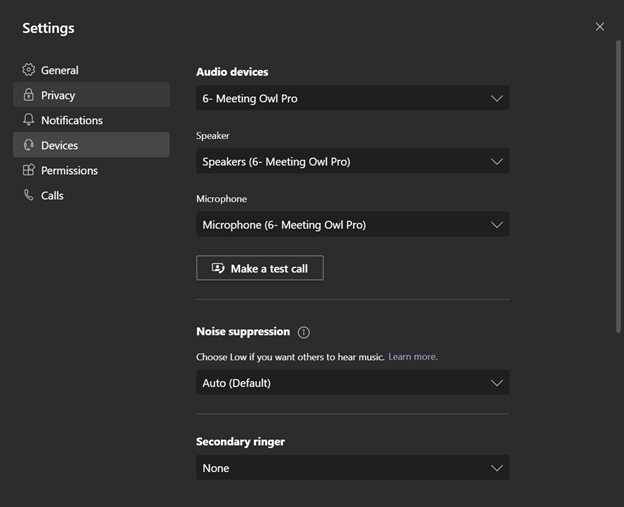
5. If you do not see the OWL in either setting, you can find the troubleshooting steps further down this document.
6. Once you have ensured that the OWL camera is seen by your computer, click the “Make a test call” option in your Teams device settings.
Troubleshooting - OWL does not show up in Teams devices:
On first use, some staff have been noting that the meeting OWL does not operate right away. Whether that is during a test call, or over the Camera program on their computer. Please follow these steps if you encounter this issue:
- Close Setting Dialog box (if open)
- Unplug the OWL USB from your computer
- Unplug the OWL power
- Wait 10 seconds
- Ensure the OWL USB is securely connected to the USB extension cable
- Plug the power back in (You should hear a ‘hoot’)
- Plug the USB back into your computer
- Check the Teams settings
- If you still cannot see the device in your settings, try restarting your computer
Troubleshooting – Audio only comes through the computer speakers:
If you plugged in your OWL and you can see yourself, but the computer audio and classroom audio only comes through your computer speakers, try the following:
1. Right-click on the speaker icon in your taskbar, and select “Playback Devices”
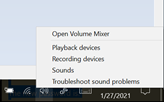
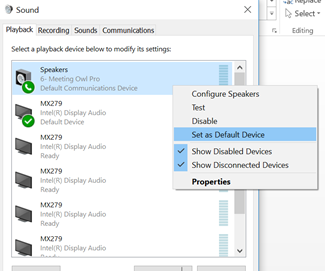
2. In Playback devices, make sure that the OWL is set as your default device. You can do this by right clicking on the OWL option and selecting that option. Make sure that you do this under the “Recording” tab as well.
Troubleshooting – OWL loading screen takes too long:
On first use, the OWL may take a while to load. You will see the below screen just seem to run forever. Typically, you will just need to wait it out. Not all devices will behave the same way. If several minutes have passed and you still only see this screen, please follow these steps:
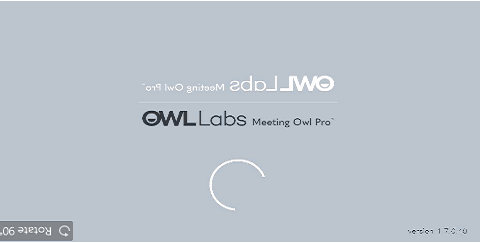
1. Close the test call
2. Unplug the USB from your computer
3. Re-insert the USB
4. Try again.
5. You can also try opening the “Camera” program on your computer and see if that kicks the OWL into gear.
Utilizing your phone to control the OWL Camera:
If the OWL focuses on something for too long, or doesnt return back to face you while teaching, you do have the ability to change the camera direction via your phone.
- On your phone, download the “Meeting OWL” app from Android’s Play Store, or Apple Store
- Ensure that your phone’s bluetooth is on
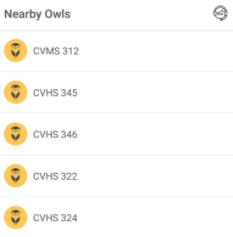
- When you open the app, you will see all available OWL’s within range. Select yours
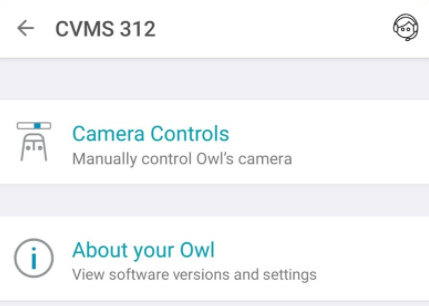
- Once in, you will see two options for the camera: Camera Controls, and About your Owl. Select Camera Controls
- Each device is password protected. Reach out to your site’s tech, and they will give you the password. Remember to never share this code with other staff and especially students.
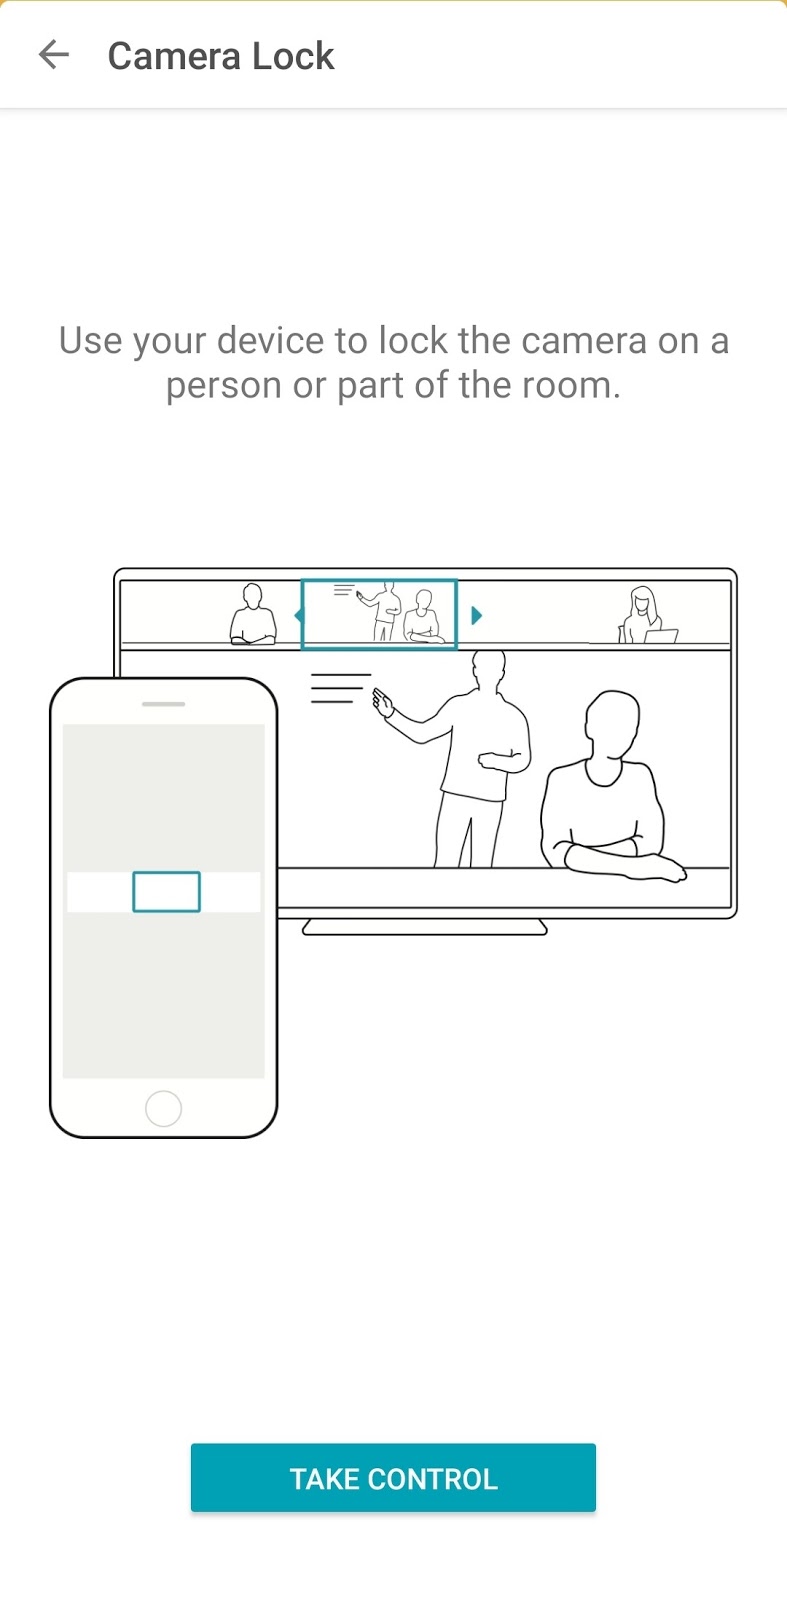
- Once entered, you will have the option to take control of the camera and use the slider to move around. (Keep in mind that you have to be in an active call for this to work)
Comments
0 comments
Please sign in to leave a comment.